the blog
The Golden Hour? What’s all this hype about?
A few years ago, when I was diving head first into learning any and everything photography related, I kept running across the phrase “The Golden Hour”. It sounded absolutely magical and mystical and I couldn’t wait to shoot during this golden hour. Only…I wasn’t exactly sure WHEN the golden hour was or what it meant 🙂
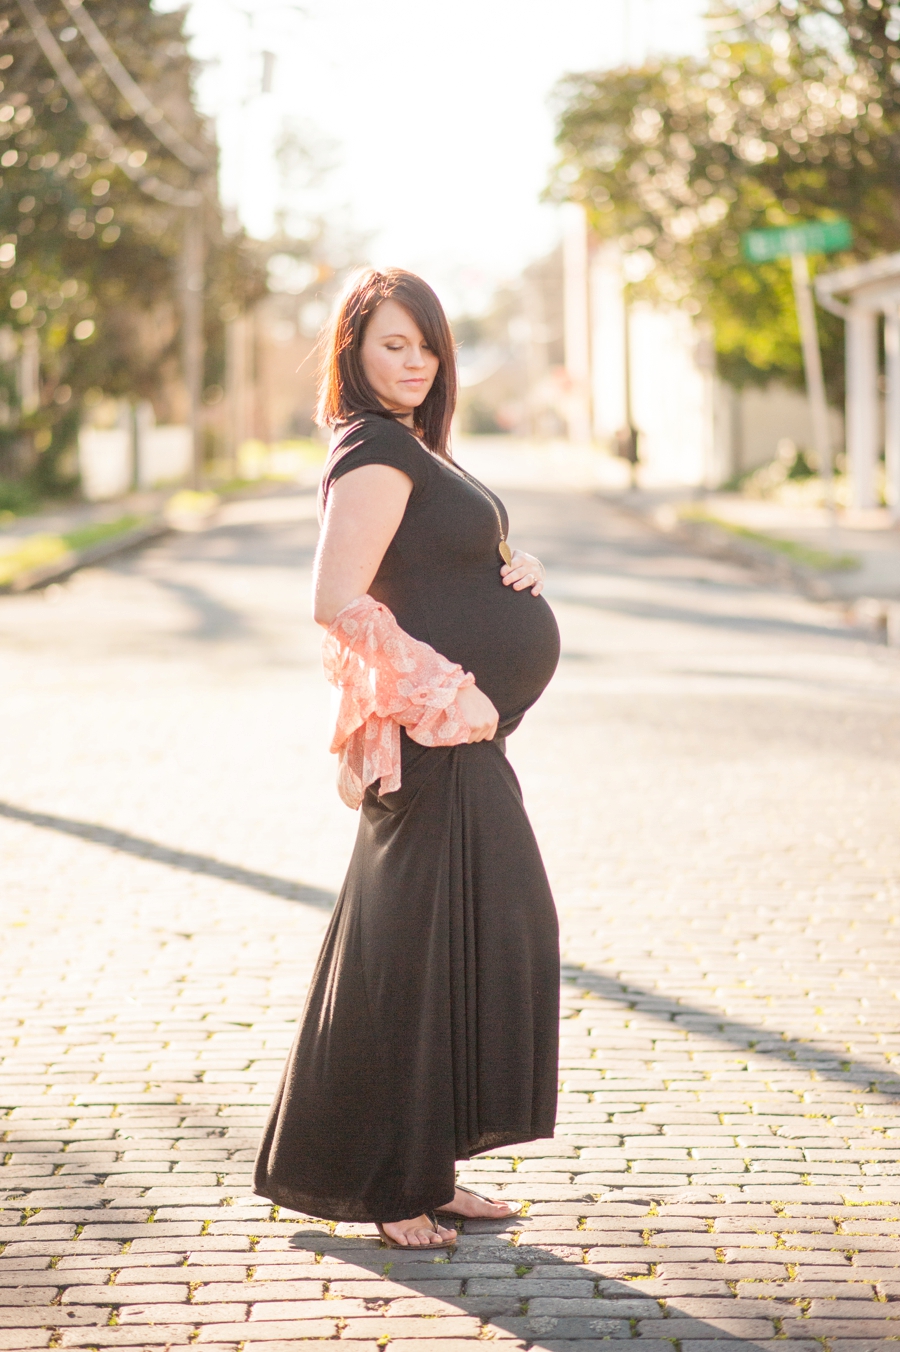
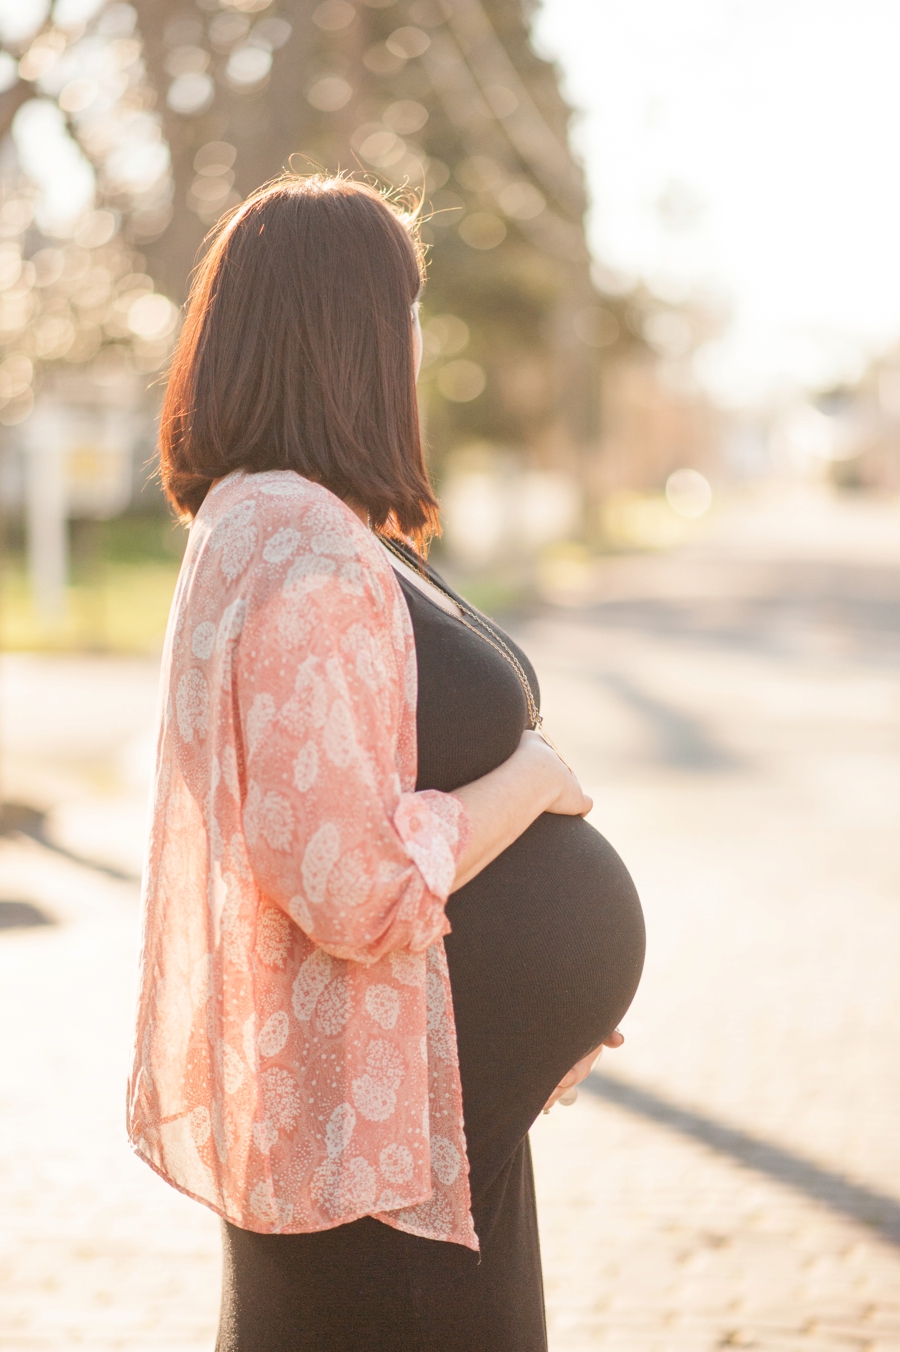
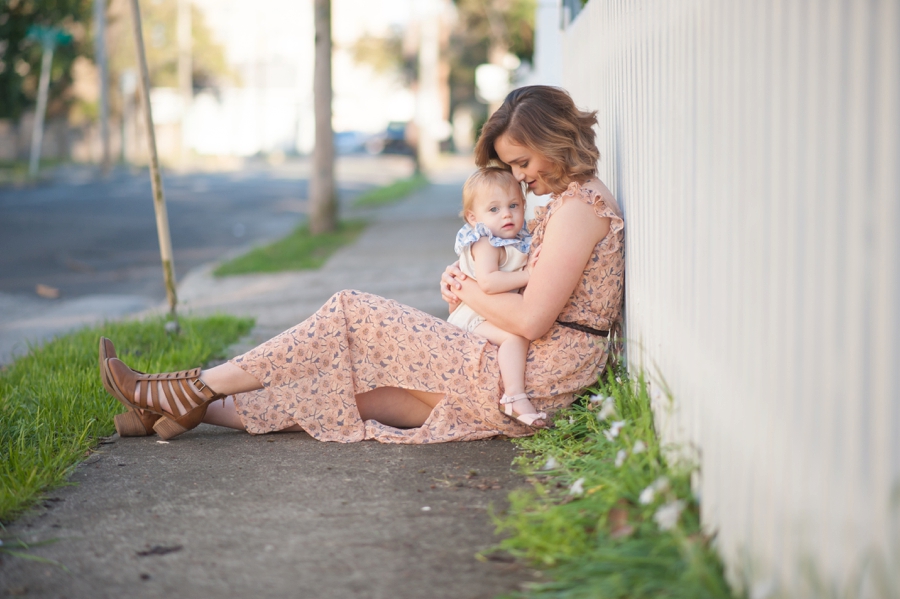
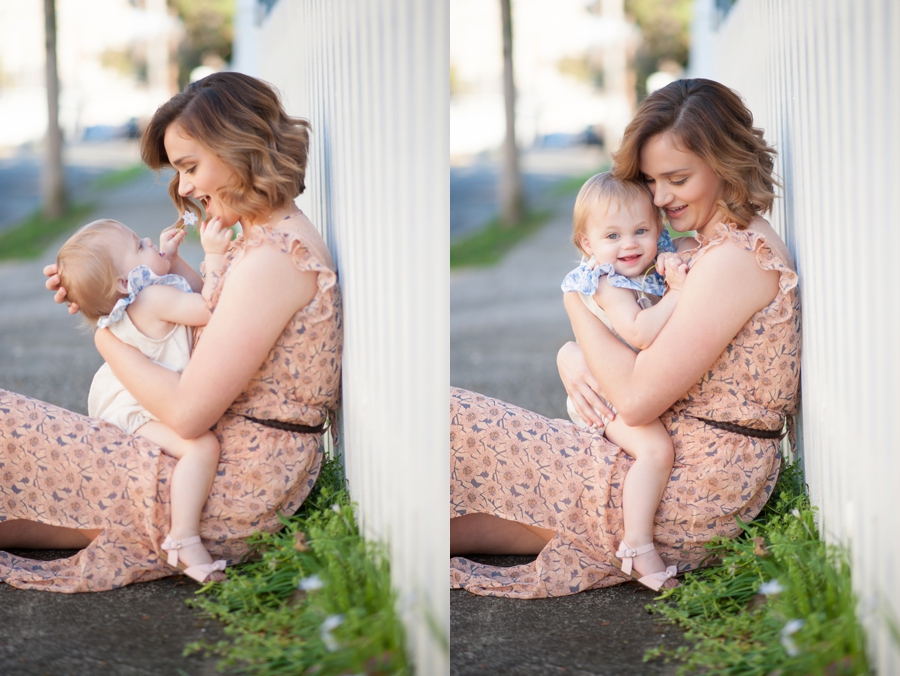
Chances are….if you are given a series of 5 images….You would pick images featuring the sundrenched goodness of the golden hour. At least this was true in my case. I was immediately drawn to the warm and yummy light. The way the light wrapped around the subjects body and the halo effect it makes in their hair (almost angelic like). Wanna talk swoonworthy images? Let’s talk the golden hour. At the end of this post are some of my favorite tips and tricks when shooting the golden hour.
So, What’s “The Golden Hour”?
According to Wikipedia, “It’s when the sun is near the horizon, sunlight travels through a greater depth of atmosphere, reducing the intensity of the direct light, so that more of the illumination comes from indirect light from the sky (Thomas 1973, 9–13), reducing the lighting ratio. Because the contrast is less during the golden hour, shadows are less dark, and highlights are less likely to be overexposed. “ You can find that definition here.
So in layman terms, it’s the time of day that occurs right before sunset. As a rule, I always start my sessions 1.5 hours before sunset. This gives me ample time to ease into the session, make sure everyone is comfortable, not feel rushed and enjoy the most perfect time of the day. The Sunrise Sunset Calendar is truly one of my best business tools. It basically stays open on my desktop throughout the year and it’s how I roughly base the start time of sessions months in advance. You can find that link here.
The light during the Golden Hour time frame is soft, super flattering and if you’re lucky….super golden. It flatters everyone. Makes skin tones more even and is often less hot since the sun isn’t beating down on you from high in the sky. The lighting makes the background surroundings appear more light and airy. Even if you don’t have a super sunny day, this time frame is still the most flattering time of day to photograph in.
But like anything….There are plenty of variables when it comes to the Golden Hour. Depending on your location and what you have to work with it can be prolonged or super fleeting. For example, if you are in a wooded area (or close to a tree line) with the golden rays filtering in through the trees, you have a longer time period to shoot in. Versus, if you are on the beach, in the wide open waiting for the sun to dip below the horizon, that time period goes by much more quickly. No matter the time frame you’ve got, use it to the best of your ability, and rock the heck out of it.
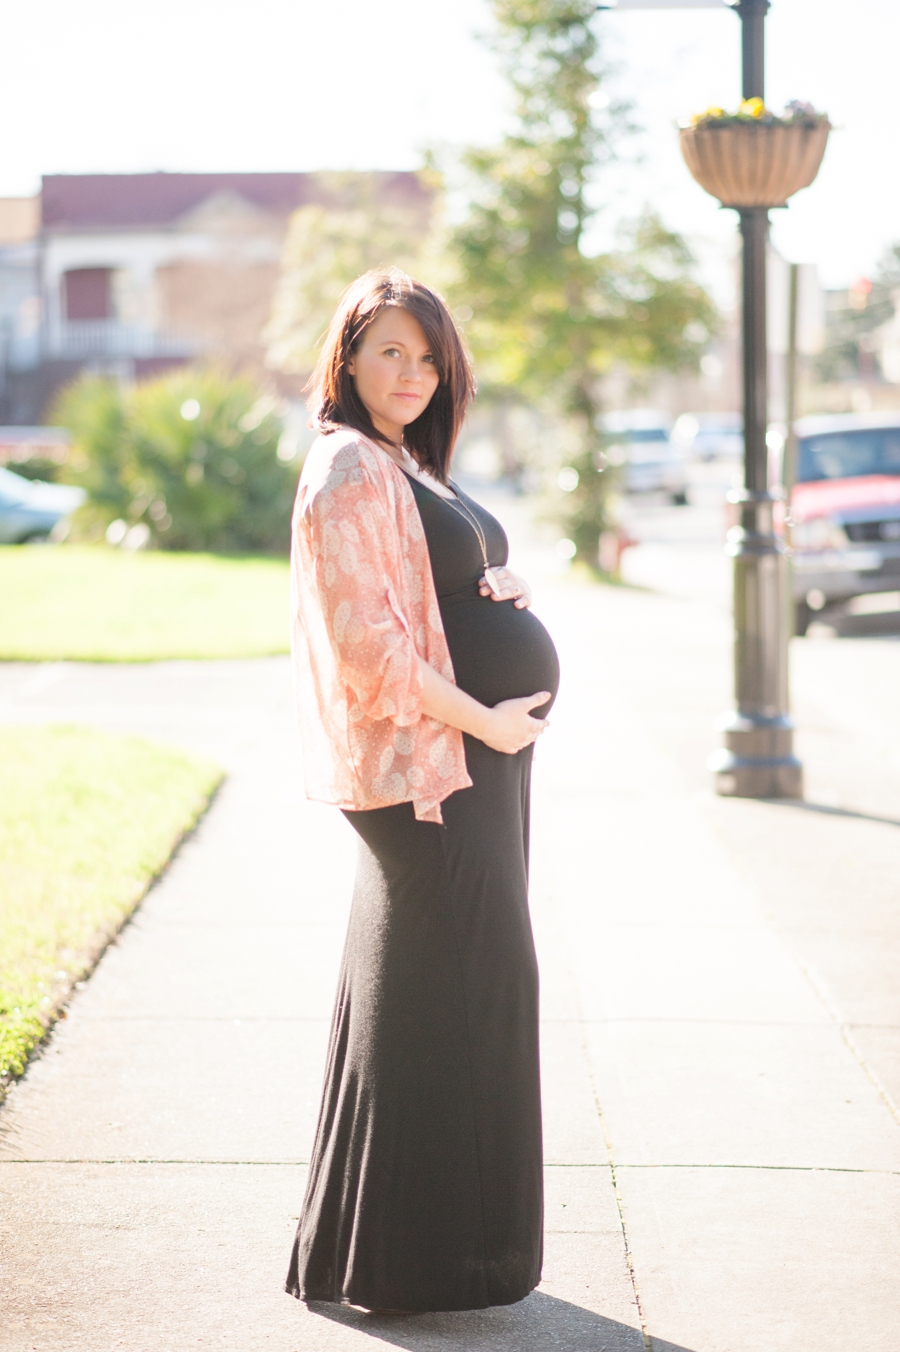
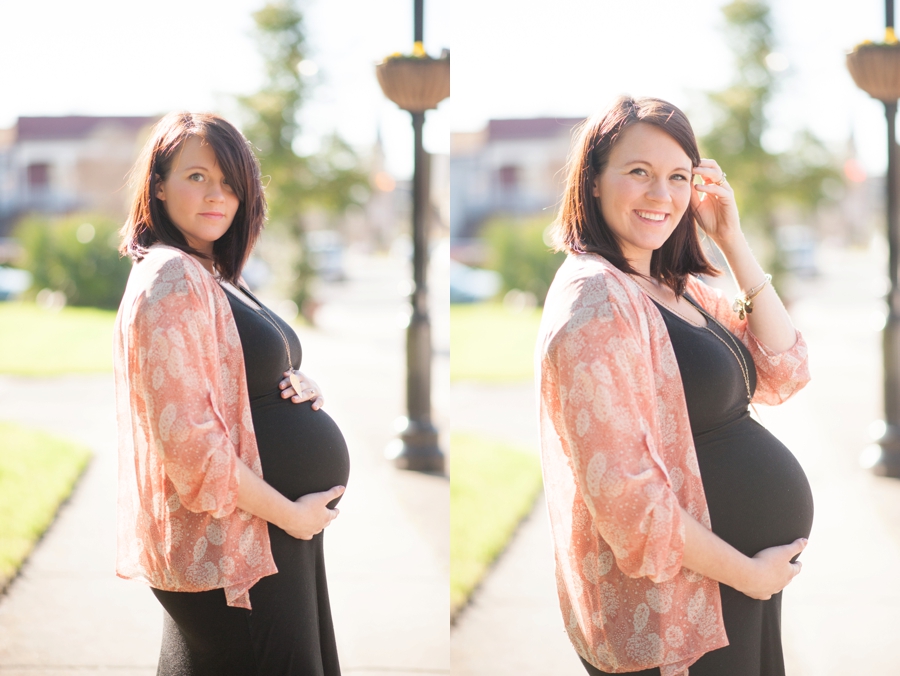
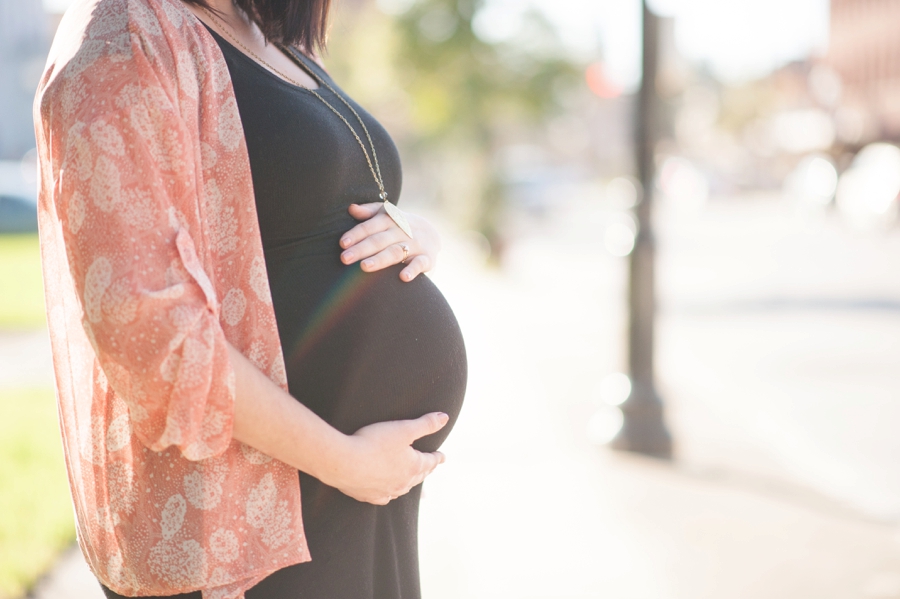
All of the images taken below were shot during the Golden Hour during a 1:1 Custom Mentoring Session. Carla traveled from the NC Mountains to go over Manual Mode Shooting and have hands on learning and shooting. We shot an indoor natural light boudoir session and two outdoor golden light sessions (family and maternity shown below). It was an incredible time and I’d love for you to go give her a follow, check out her images from this session and watch her as she ROCKS her photography business. You can find her here at Carla Eve Photography.
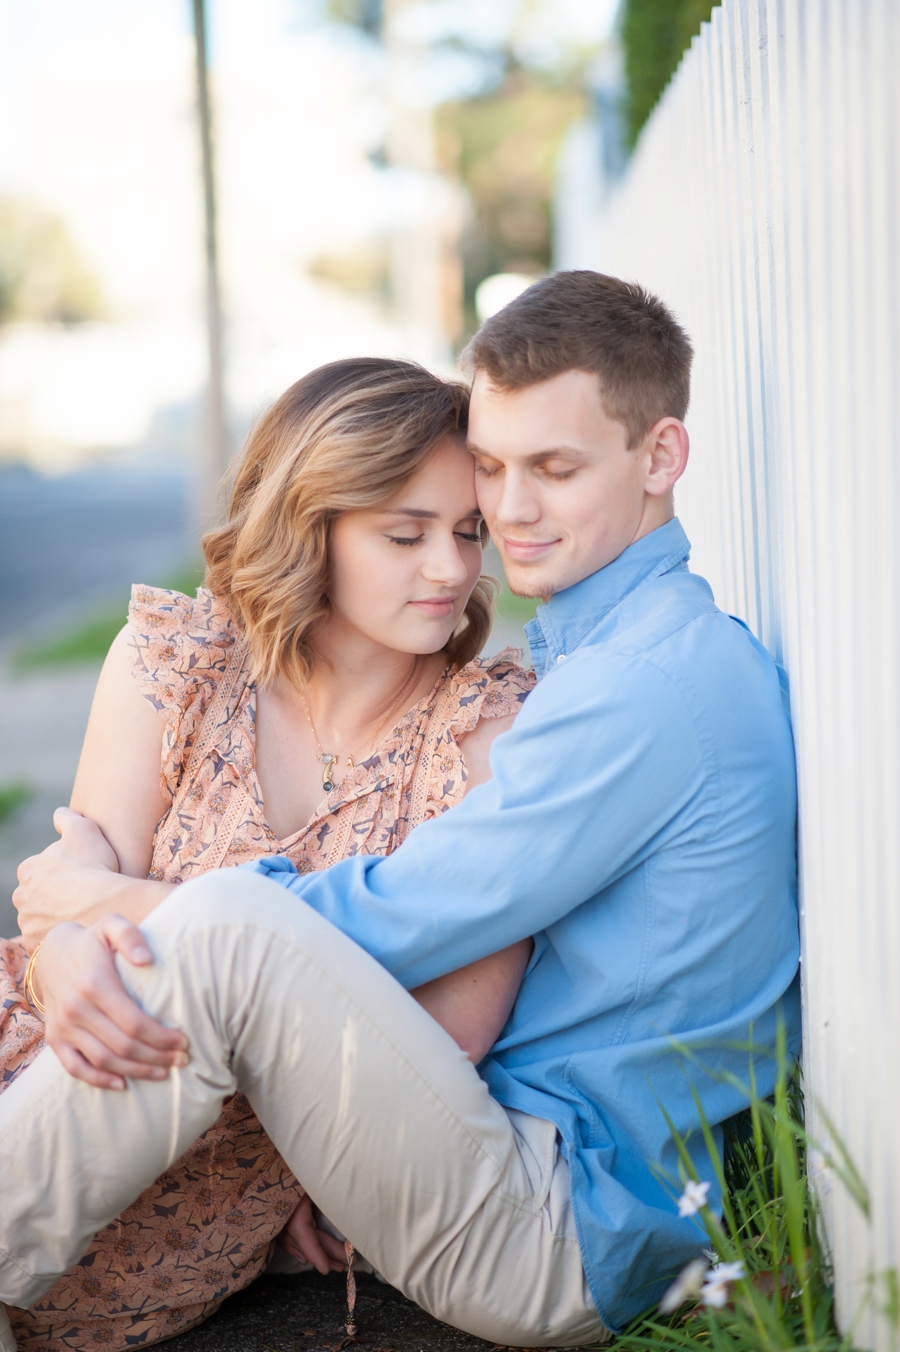
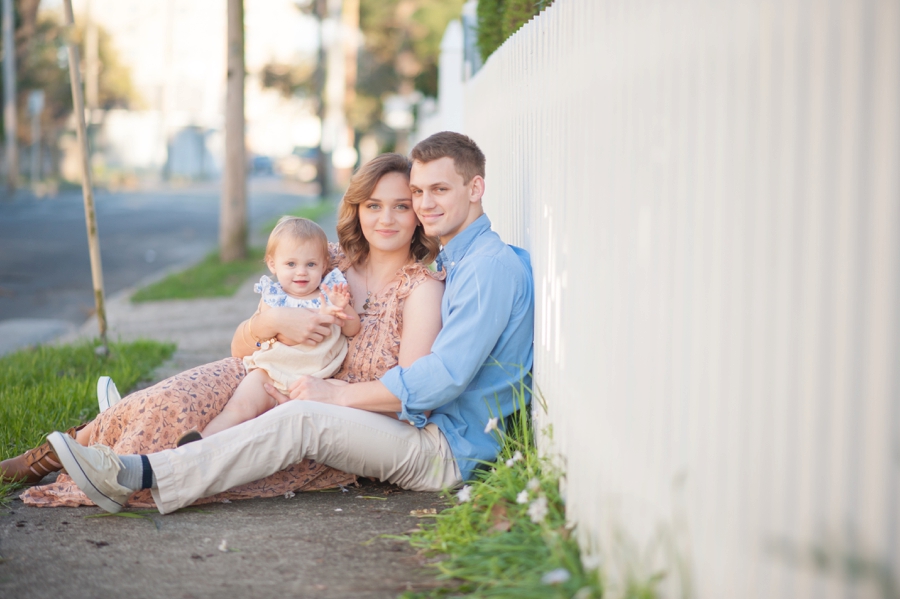
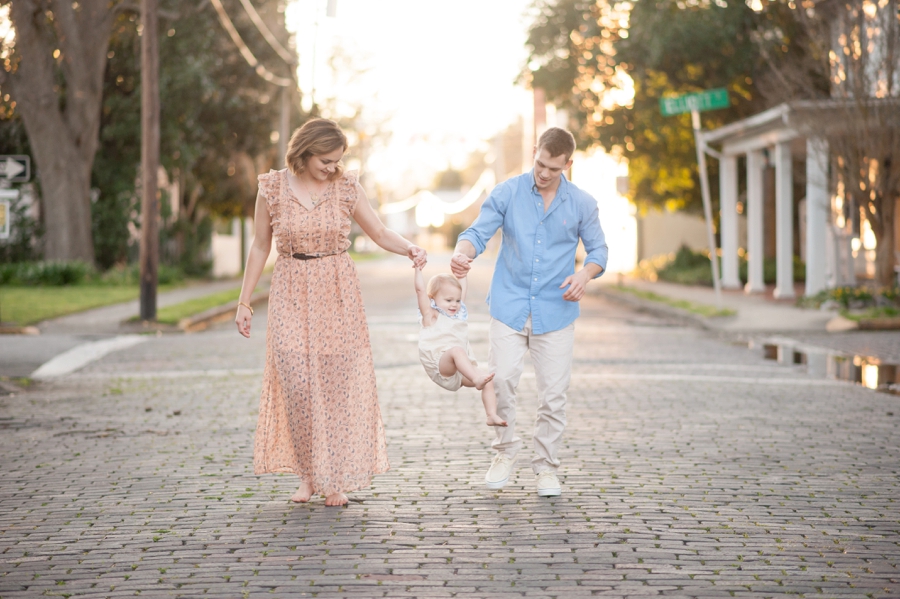
Tips and Tricks for Shooting Golden Hour Sessions:
- At the beginning of your session, when the sun is still higher in the sky, look for shade, trees or buildings. Anything that will filter the light and keep the light from directly coming into your lens. When the light comes directly into your lens full force, the color and detail of the image is often washed out looking. So, if you can, find a way to block that light from coming directly into your lens. Whether it be from standing in the shade of a tree, a light pole shadow (like I was standing in for the family of 3 in the street), the shadow of a building or having someone hold a reflector to block the sunlight…all are perfectly acceptable ways to block the sunlight. Sometimes you have to get creative.
- Make sure your clients know that your session time is based around the sunset and that you will have a narrow window of time. Typically knowing that we are working on a limited time frame, helps keep everybody on time.
- Keep the sun towards the subject’s back. This will create the “halo” look of the sun hitting the subjects hair and also keep any unwanted sun splotches from being on their face.
- Look for puddles of light filtering through objects (trees, buildings, etc). Put your subject directly in the puddle of light for the most magnificent glow.
- Save their most FAVORITE outfit for last. The absolute best portion of the session is typically the last 15 minutes.
I sincerely hope this post helps you understand the golden hour a little bit better 🙂 Thank you SO much for taking the time to read this post and if you have any specific questions, please let know!
If you’d like a Custom 1:1 Mentoring Session or would like more info on the Make it Click Photography Shootouts, Click the “CONTACT” button up top and shoot me over an email 🙂 I’d love to be a part of your photography journey!